 Skip to content
Pre-Shipment Inspection Checklist for Temporary Fencing: Avoid Costly Defects is the first checkpoint buyers should lock before they approve a supplier, budget, or production slot. You cleared a 200-panel sample approval, gave the green light on FOB pricing, and the container lands at your yard in Mississauga. Then your warehouse crew unloads the first pallet and notices the mesh wire looks thinner than the spec sheet. A caliper confirms it: 4.0mm instead of the agreed 4.5mm. That $50,000 order just became a stack of undersized panels that won’t pass a Canadian construction site inspection. A pre-shipment inspection checklist would have caught that before the container left Anping.
The gap between a sample and a full production run is where most importers lose money. Factories in Anping know that a lot of buyers never check the internal wire gauge, the galvanization thickness, or the plastic feet material at the container-loading stage. They push the quality tolerance to the edge of what the contract allows. A magnetic thickness gauge reading below 42 microns on a hot-dipped panel means you’re paying for a corrosion finish that won’t last two Canadian winters. A plastic foot that passes the weight test on the factory floor can shatter at -20°C if the compound uses recycled polypropylene instead of virgin PP. The fix is a 30-minute inspection routine that costs less than 1% of the container value.
Most third-party firms charge around $400 to $700 for a standard pre-shipment check, and Singapore-based agencies familiar with Anping factories often come in lower than SGS for the same scope. You don’t need to fly your own QC to China. You need a checklist that covers the five failure points that show up after customs clearance: wire diameter, weld shear strength, zinc thickness, plastic impact resistance, and packaging integrity. Ask your supplier for a low-temperature impact test certificate on the plastic feet. Ask for the caliper measurement on every 10th panel. And if the factory hesitates on any of those, you just saved yourself a rejection that would have cost more than the inspection fee.
Why Pre-Shipment Inspection Saves Thousands
A $500 inspection saves you from a $15,000 rejection at port.
The moment your container lands in Vancouver or Montreal, the clock starts ticking. You pay demurrage, you pay storage, and if the panels don’t meet spec — you pay for rework or return. A Canadian distributor once opened a container of 2,000 temporary fence panels only to find the mesh wire was 4.0 mm instead of the agreed 4.5 mm. That’s a 12% reduction in cross-section strength. The supplier offered a 3% credit. The buyer rejected the whole lot, paid return freight, and lost six weeks of selling season.
- Common defects after arrival in Canada: Undersized wire gauge (4.0 vs 4.5 mm), inconsistent panel height (±5 mm variance), galvanization below 42 microns on edge tubes, plastic feet that crack at -20°C during first winter, missing anti-lift locks or clamps per AS 4687 requirement.
- Cost of rejection vs cost of inspection: A third-party pre-shipment inspection in Anping runs roughly $350–$600 per day per inspector depending on scope (SGS charges higher; Singapore-based firms like AsiaInspection or QIMA often charge less and know the local factories). A full container rejection costs: freight back to China ~$2,500–$4,000, restocking fee ~10–15%, lost sales margin ~$8,000–$12,000 on a $50K order. Plus your customer relationship takes a hit.
The math is brutal but simple: one avoided rejection pays for inspections on your next ten containers. And if you’re buying at MOQ 100 panels or scaling up to truckload volumes, that’s not theory — that’s your P&L.
Checklist Item 1: Panel Dimensions and Mesh Spacing
A 2mm height deviation per panel can cause a visible step and compromise stability.
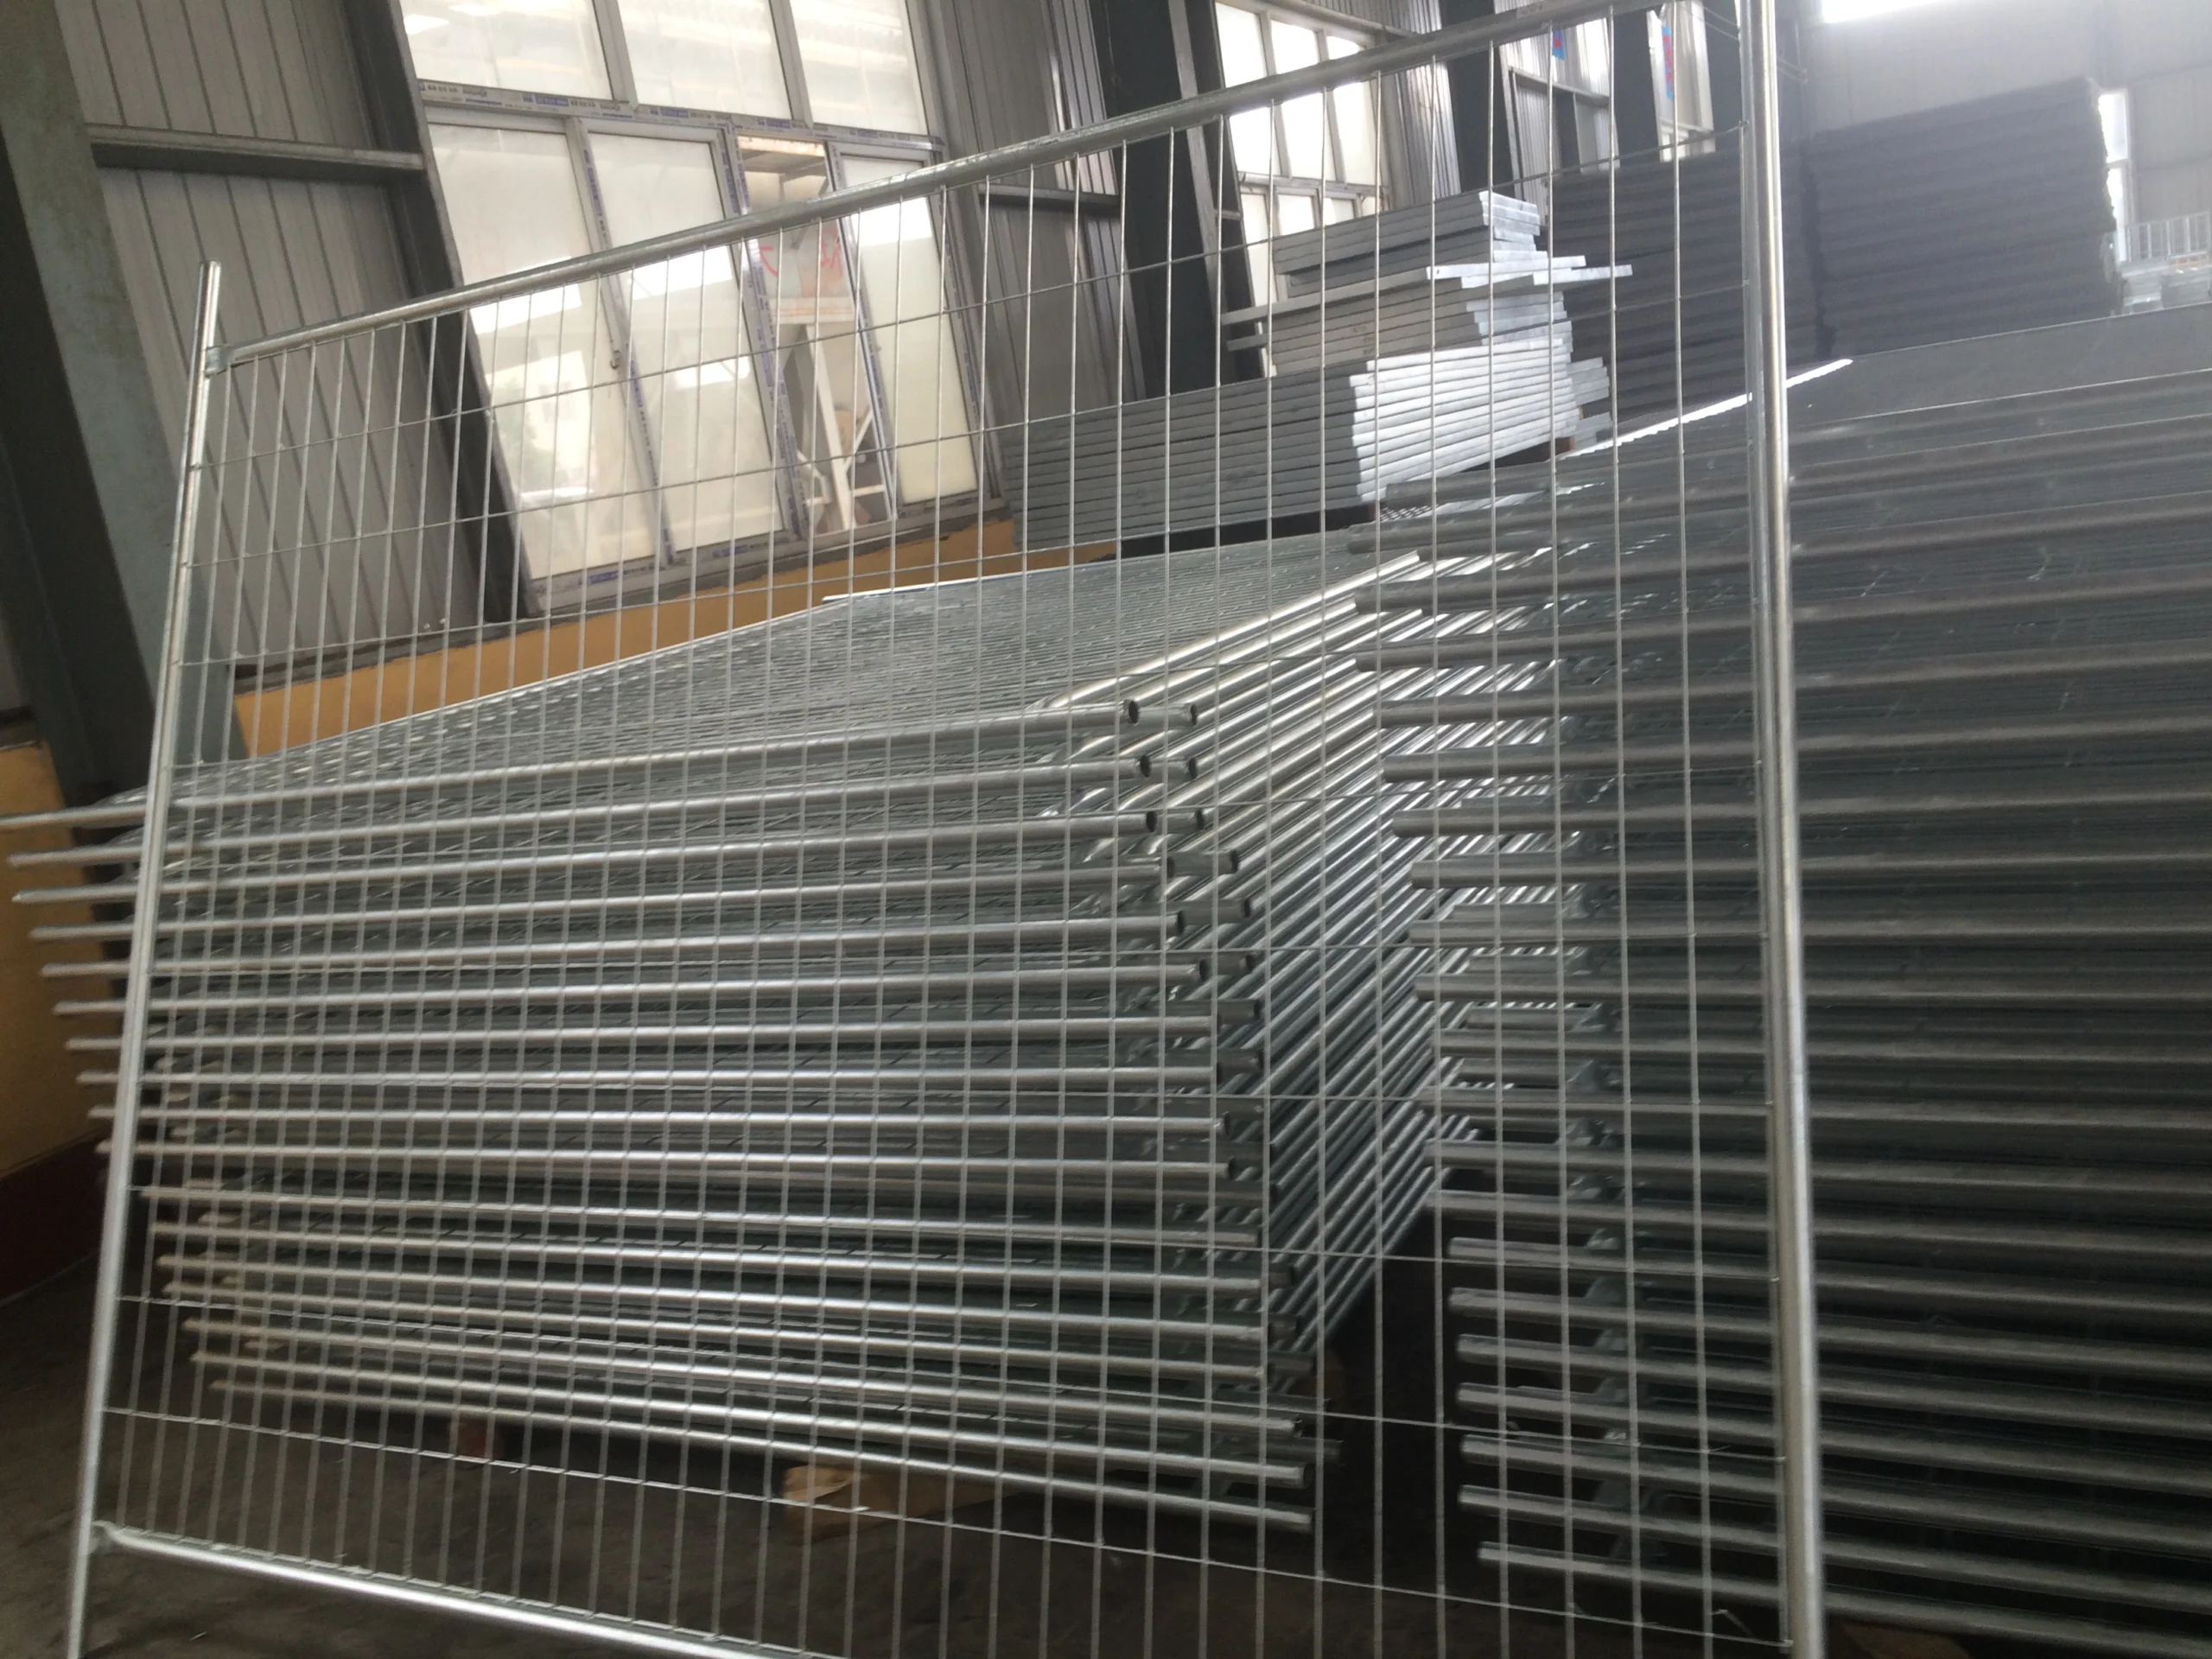
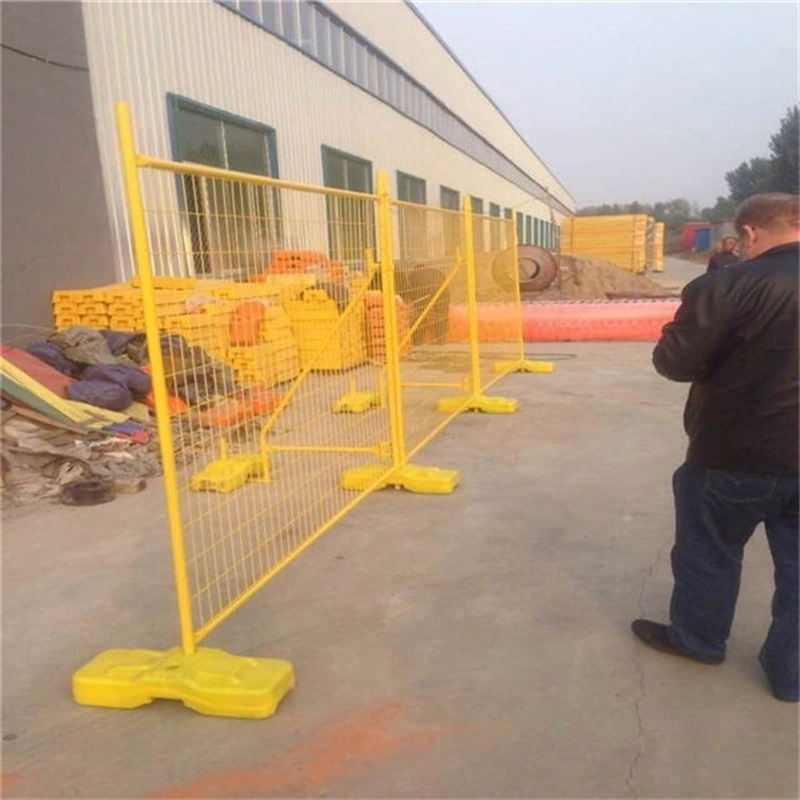
Panel dimensions are the first thing you measure on arrival. A height mismatch of 2mm may seem negligible, but across a 50‑panel job site it creates alignment issues that waste labor hours. The industry standard for temporary fencing is ±2mm on height and ±5mm on length. Anything outside that range means the panels won’t interlock properly, leaving gaps that defeat security purposes.
- Height Tolerance (±2mm): Use a tape measure at three points along the panel. If the top frame height varies by more than 2mm from the specified 2.0m, the panel will not sit flush with adjacent units. Reject any panel exceeding 3mm deviation.
- Length Tolerance (±5mm): Measure the full width of the panel (e.g., 2.4m). A deviation beyond 5mm means the panel won’t fit into standard coupling clamps, causing loose connections. This is a common cause of fence line instability.
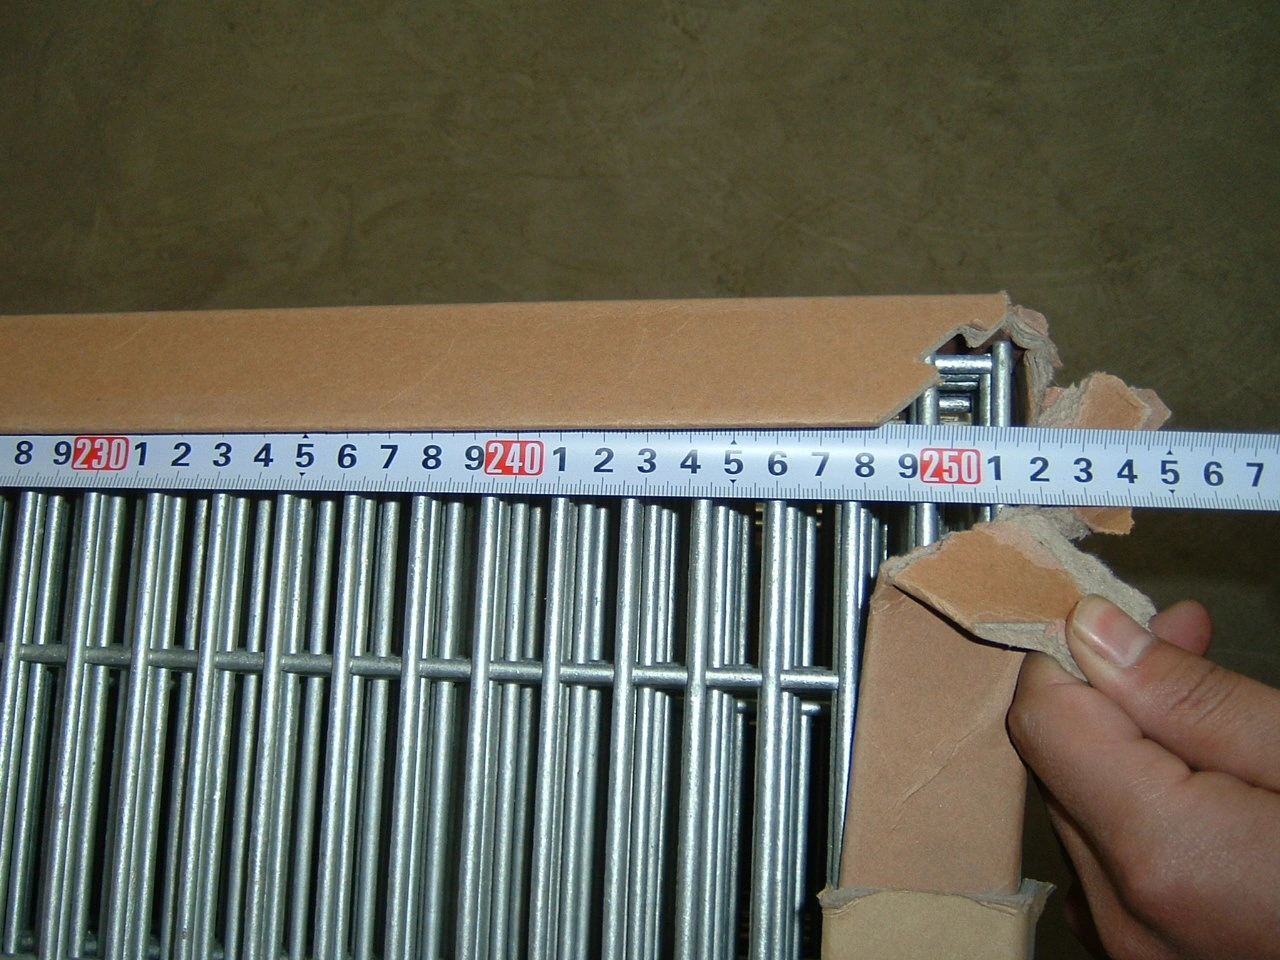
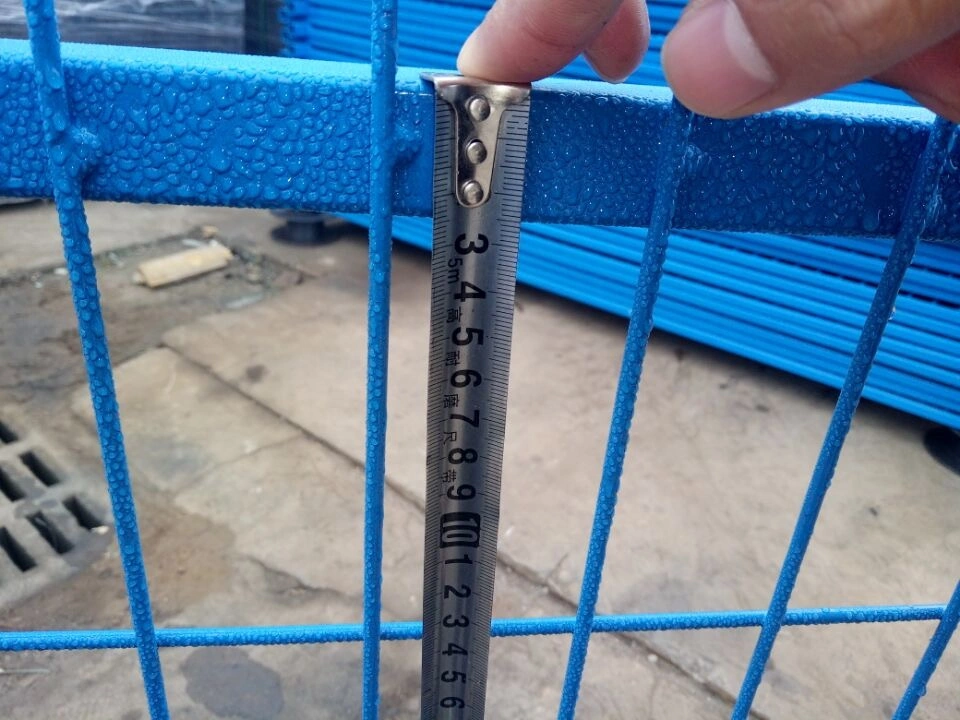
- Wire Diameter (Mesh): Many factories cut costs by using 4.0mm wire instead of the specified 4.5mm for the internal mesh. Use a digital caliper to measure the wire gauge at the center of the panel. A 0.5mm reduction reduces weld strength by roughly 20% and makes the panel easier to cut or deform.
| Inspection Parameter | Specification | Tolerance | Inspection Method | Red Flag |
|---|---|---|---|---|
| Panel Height | 2000 mm (2.0 m) | ±2 mm | Steel tape measure at both ends and center | Exceeds ±2 mm; panels won’t align in row |
| Panel Length | 2400 mm (2.4 m) or 3000 mm (3.0 m) | ±5 mm | Steel tape measure along top and bottom rail | Exceeds ±5 mm; gaps in coupling lead to instability |
| Vertical Mesh Spacing | 50 mm (center-to-center) | ±2 mm | Caliper gauge on 5 random openings | Spacing > 55 mm fails anti-climb compliance (AS 4687) |
| Horizontal Mesh Spacing | 200 mm (center-to-center) | ±3 mm | Caliper gauge on 5 random openings | Irregular spacing weakens structural uniformity |
| Wire Diameter (Internal Mesh) | 4.5 mm (nominal) | ≥ 4.2 mm (accept lower limit) | Digital caliper at mid‑span of 3 wires | Diameter < 4.0 mm indicates cost‑cutting; reduce load capacity |
Checklist Item 2: Weld Strength Test
A weld that looks good can fail under load – always test shear strength.
Weld strength is the backbone of any temporary fence panel or corral panel. A panel that passes visual inspection can still have welds that shear off under lateral load from wind or livestock. The only way to verify is a destructive shear test on a representative sample from the production run. Skip this step and you risk receiving panels that collapse on site, leading to safety fines and replacement costs that far exceed the inspection fee.
- Wire diameter check (pre-test): Use a digital caliper on the horizontal and vertical wires at three random points. Many factories in Anping quote 4.5mm but deliver 4.0mm on the internal mesh to save material cost. A 0.5mm reduction cuts weld cross-section area by roughly 20%, directly lowering shear capacity. Record the actual wire gauge before any destructive test.
- Shear force test (destructive): Select at least three panels from different welding shifts. Use a calibrated force gauge or a portable weld tester (e.g., PFT-100) to apply a perpendicular load to the weld joint until failure. The weld must hold the minimum shear load specified in the relevant standard – for AS 4687-2022, that is typically 2.5 kN per weld for temporary fencing mesh. If the weld breaks cleanly at the wire surface instead of deforming the wire, the heat input was too low.
- Visual backside check: Even if the weld passes the shear test, flip the panel and inspect the back side. A quality weld shows a full fusion ring (melt zone) around the wire intersection. If you see a dark ring or a gap, the weld is only cosmetic and will fail in the field. Mark any panel with more than 5% of welds showing incomplete fusion for rejection.
Checklist Item 3: Galvanization Thickness (Hot-Dip vs. Electro)
A magnetic thickness gauge is the only way to verify hot-dipped galvanization at 42 microns.
There is a difference between hot-dipped galvanized (HDG) and electro-galvanized (EG) that you can’t see with the naked eye. HDG produces a zinc layer of 42 microns or more, while EG usually gives you 5–12 microns — essentially a cosmetic coating. On a 50,000-piece order, the material cost difference between HDG and EG is roughly 15–18% of the wire price, which is why some suppliers will try to pass off EG as HDG. Your only defense is a calibrated magnetic thickness gauge, not a visual inspection.
Here is the procedure I use during factory audits: take three readings per panel — one near each weld and one on the mid-span of a horizontal rail. The gauge must show a minimum of 42 microns (0.042 mm) on every reading. If even one reading falls below 42, reject the batch. The AS 4687 standard requires this, and your Canadian or Australian end customer will expect it.
- Spot check frequency: Inspect one panel per pallet for runs under 100 panels. For larger orders (e.g., 500+ panels), test every 10th pallet. Document all readings with photos of the gauge display next to the panel.
- Red flag: If the supplier says they use ‘hot-dip’ but the gauge reads 15–25 microns, they are either lying or using a flash-dip process. Walk away.
Checklist Item 4: Coating Uniformity and Rust Spots
Coating thickness is half the check — uniformity tells you if the line skipped passes.
A magnetic thickness gauge gives you the micron number, but it won’t catch patchy coverage. Good lighting — preferably natural daylight or a 5000K work light — is non-negotiable. Rotate each panel 90° and look along the weld intersections and cut edges. Those are where zinc tends to pull thin or burn off.
Containers have been observed where 80% of panels passed the 42-micron spot check, but every weld had a halo of dull grey exposed steel. That’s a sign the factory used hot-dip but didn’t agitate the bath properly. In Canadian winter conditions, those spots bloom orange rust within 60 days of installation.
- Even Coverage: The entire panel should have a uniform matte silver appearance. Glossy patches mean the zinc ran too thick in one area, dull patches mean it ran too thin.
- Weld Halo: Check every weld junction on the mesh and frame. If you see a darker ring around the weld, the heat burned off the zinc and was not re-coated. This is the #1 visual red flag.
- Cut Edge Rust: Sheared ends of wire or tube must be sealed. Any orange speck at a cut edge means the galvanizing line skipped the final passivation step. Reject that panel.
One more truth many importers miss: if the supplier quotes ‘hot-dipped galvanized‘ but the visual finish looks too bright and smooth, ask for a magnet test or check the coating weight. Electro-galvanized panels look cleaner but deliver only 5–12 microns of protection. That might pass a visual check in the factory, but it will fail on a Canadian job site before the first snow melts.
Checklist Item 5: Plastic Feet – Material and Weight
A plastic foot that passes the weight check can still shatter at -20°C — always verify low-temp impact data.
Plastic feet on temporary fence panels are almost always made from polypropylene (PP), but the grade and filler ratio vary wildly. Virgin PP costs about 30% more than recycled PP, and the difference shows in cold weather. A quick field test: take a small chip from the foot and hit it with a lighter. Virgin PP drips with a clean, waxy smell; heavily recycled material smells like burnt plastic and can crack under light pressure. But the real red flag? A foot that feels dense and passes weight but turns brittle at -15°C. Canadian winters expose this instantly — those shipping to Alberta or Ontario should request low-temperature impact test data (ASTM D256 or equivalent) from the supplier. One distributor in Vancouver lost an entire container to cracked feet after a cold snap; the factory had swapped in 40% calcium carbonate filler to cut costs.
Weight tolerance is the second check but it’s often misused as a quality indicator. The standard spec allows ±5% deviation from the declared weight. Use a digital scale (0.1g resolution) and weigh at least 10 feet from different pallets. If the average is within 5%, fine. But here’s what most importers miss: a foot can hit the weight spec yet still be garbage if the material is filled with heavy mineral powder. That’s why you combine the weight check with a material burn test and a density calculation (weight ÷ volume). A virgin PP foot with no fillers typically has a density around 0.91 g/cm³. Any reading above 0.96 g/cm³ suggests filler content above 15%, which trades cold-weather performance for cheap bulk. If you’re buying at MOQ 100 panels and the supplier’s plastic feet are hollow or thin-walled, you’ll see the weight drop below spec. That’s an automatic fail — those feet won’t survive the first forklift turn.
| Inspection Point | Acceptable Standard | Why It Matters | Red Flag |
|---|---|---|---|
| Material Composition | 100% Virgin Polypropylene (PP) – no recycled content | Virgin PP provides consistent impact resistance and UV stability; recycled plastic becomes brittle under Canadian winter conditions | Dark or inconsistent color, strong chemical smell, or visible contamination – indicates recycled material |
| Weight Tolerance | ±5% of specified weight per foot (e.g., 1.2 kg ± 60 g) | Weight directly correlates with material density and structural integrity; underweight feet may crack under load | Feet weigh less than 95% of spec – likely using thin walls or recycled filler |
| Low-Temperature Impact Resistance | No cracks after 2.0 J impact test at -20°C (ASTM D256 or equivalent) | Feet that pass weight test can shatter in Canadian winter; this test ensures field durability | Factory refuses to provide low-temperature impact test data or offers only ambient temperature results |
| Dimensional Consistency | All feet match master sample within ±1 mm across base width, height, and socket diameter | Inconsistent dimensions cause loose fit on panel posts, leading to instability on site | Feet from different pallets do not interchange freely; variations > 2 mm |
| Socket Fit and Locking | Panel post inserts fully with 0.5–1.0 mm clearance; locking mechanism engages without excessive force | Tight fit prevents wobble; too loose risks panel separation during wind or impact | Post can be inserted with less than 0.3 mm clearance (binds) or more than 1.5 mm (excessive play) |
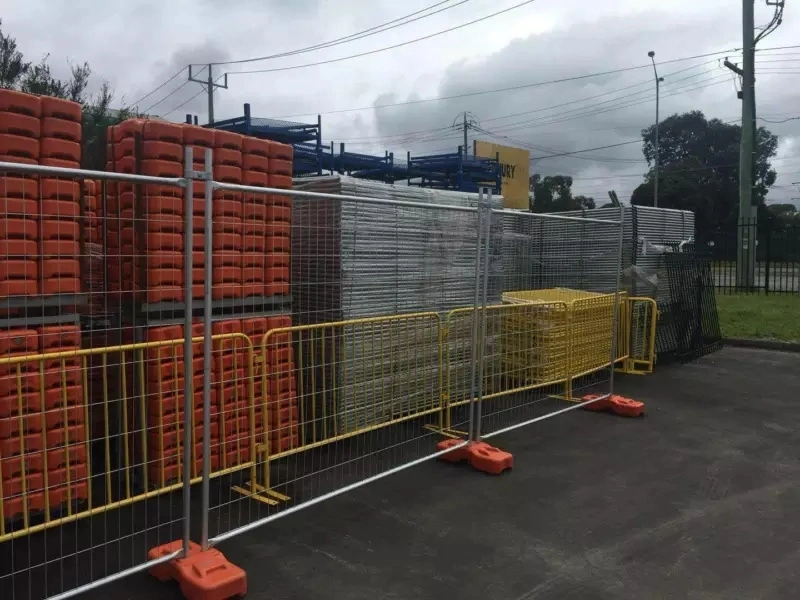
Checklist Item 6: Locking Mechanism and Clamps
A locked gate that fails on site becomes a liability — test every coupling pin and anti-lift lock before the container leaves.
Coupling pins and anti-lift locks are the weakest link in temporary fencing if the factory cut corners. On a job site, a pin that rusts solid or a lock that won’t engage means panels that can be lifted apart by hand — a direct safety violation. During pre-shipment inspection, run a physical functionality test on at least 10% of the panels, more if you’re dealing with a new supplier.
- Coupling Pin Insertion & Slide Test: Take a random panel, insert the coupling pin into the loop of the adjacent panel. It should slide in without hammering and come out with one firm pull. If it sticks or requires excessive force, the pin diameter is out of spec or the loop is misaligned. Reject any batch where more than 2% of pins fail this test.
- Anti-Lift Lock Engagement Check: Most temporary fence panels use a spring-loaded locking mechanism on the feet or a latch on the frame. Push down and rotate each lock — it should click into place and require deliberate pressure to release. If the lock flops open with a light nudge, the spring tension is too low. That panel will disengage under wind loads or accidental bumping.
- Corrosion Spot Check on Pins and Springs: Coupling pins are often the first thing to rust because they’re handled and get scratched. Scrape the pin surface with a key or coin. If you see bare metal under a thin zinc layer, it’s electro-galvanized — expect rust within 6 months. Hot-dipped pins will show a dull grey, thicker coating. Use a magnetic thickness gauge if you can; anything under 42 microns on the pin is a red flag.
- Lateral Load Test for Pin Integrity: With two panels coupled, apply a 50-kg lateral pull at the joint (use a spring scale if available). The pin should hold without visible bending. A 12mm diameter mild steel pin will bend past 200 kg, but if it deforms at 50 kg, the steel grade is too low or the diameter is undersized. Document the batch and flag the supplier.
A real-world case: a Canadian distributor received 800 panels where the anti-lift locks were painted over. The paint had cured in the lock cavities, jamming every latch. They had to manually grind 400 locks on site — cost them $6,000 in labour and missed the project deadline. Always test a few dozen locks during inspection, and ask for a video of the test if you can’t be there in person. For suppliers like DB Fencing who run their own dedicated plastic feet line, lock mechanisms are integrated at the same station — fewer handoffs means fewer misalignments.
If your supplier is quoting below market for anti-climb panels, they’re often saving on pin diameter or skipping the anti-lift lock entirely. Don’t accept verbal promises. Demand to see the test performed and photographed during your inspection. This is one area where a third-party inspector in Anping (Singapore-based firms often charge 40% less than SGS for the same standard) can catch the flaw before your container hits the Pacific.

Red Flags That Warrant Rejection
A single cracked weld voids the structural integrity of the entire panel.
Cracks in the weld zone or along the tube—especially near the base of the frame—are instant rejection items. They indicate either poor welding parameters, substandard steel, or stress from bending after welding. A crack that’s invisible to the naked eye can propagate during transit and turn into a 50mm split by the time the container hits your yard. During inspection, run a thin blade along every joint. If it catches, you’ve found a crack.
Sharp burrs are a safety liability and a compliance fail. Australian Standard AS 4687-2022 explicitly requires all exposed edges to be deburred. A burr left on a cut tube end or a drilled hole will slice through gloves, skin, and even polyethylene shrink wrap during stacking. The fix is cheap—a 30-second pass with a file or grinder—but if a factory ships burrs, it tells you they skipped the final QC step. That same sloppiness often hides thinner gauge wire in the mesh.
- Bent Tubes: A frame tube that deviates more than 3mm over its 2.4m length will not mate properly with the next panel. The interlocking pins won’t align, and you’ll spend site labor hours hammering panels together. Use a straightedge or a taught string line. If the gap under the straightedge exceeds 3mm, reject the batch. Bent tubes often come from poorly stacked pallets or a factory that doesn’t own a tube straightener.
Conclusion
Skip the pre-shipment inspection on a 500-panel container and you are looking at $12,000–$18,000 in rejected goods, plus a 6-week project delay while replacements ship. The caliper test on wire diameter, the magnetic gauge on galvanization, the low-temperature impact data on plastic feet—each check costs minutes but prevents a claim that eats your margin for the entire quarter.
Run your current supplier’s quality documentation against this checklist. If you cannot verify weld strength, galvanization thickness, or plastic feet brittleness for Canadian winter conditions, consider a third-party inspector familiar with Anping factories—Singapore-based firms often deliver the same rigor as SGS at a lower cost, and they know where the shortcuts hide.
Frequently Asked Questions
What is the minimum order quantity for temporary fencing panels?
The minimum order quantity is 100 panels for stock items. Custom production runs may require a higher volume depending on the material setup and spec complexity. Confirm MOQ with your supplier after finalizing the product spec.
How do I test weld strength during pre-shipment inspection?
Use a shear strength test on sample panels to ensure welds hold under load. A visual inspection alone is not reliable—apply controlled force to a few welds per batch. Request a test report from the factory or use a third-party inspector.
What galvanization thickness is required for temporary fencing?
A minimum of 42 microns hot-dipped galvanized coating is required for outdoor durability, especially in seaside or high-corrosion environments. Electro-galvanized finishes are not sufficient for long-term use. Verify with a magnetic thickness gauge during inspection.
Can I use a third-party inspection service instead of sending my own QC?
Yes, third-party inspection is a common and cost-effective alternative to sending your own QC. It provides an unbiased check and can be arranged before shipment to catch defects early. Choose a service with experience in fencing and your target market standards.


