Skip to content
calculate crowd control barriers festival is the first checkpoint buyers should lock before they approve a supplier, budget, or production slot. A procurement coordinator at a mid-sized Canadian event company once signed off on a $50K barrier order based on the “one per 50 attendees” rule — a number that gets passed around planning circles like it carries some official weight. The pre-production sample approved. The panels arrived on FOB terms, looked right on the pallet, and cleared customs without issue. Then the crew hit the site: an irregular 480-metre perimeter at a park with a creek cutting through the south edge, two emergency vehicle lanes, a beer garden, and a 30-metre stage front. They were short by 60 panels. The rental gap cost more than the original freight. That is the real cost of using a headcount formula on a geometry problem.
The more accurate method to calculate crowd control barriers for a festival starts with linear metres, not attendance figures. Divide your controlled perimeter length by the panel width — standard steel crowd control barriers run 2.3 metres per unit — and you get a baseline count that actually reflects the ground. From there, you layer in gate openings, internal zone enclosures, and terrain adjustments. For rocky or uneven sites like Vancouver’s Deer Lake Park, experienced planners add 15% to the perimeter count to account for anchoring gaps where panels cannot sit flush. VIP zones carry a tighter density requirement than general admission, which changes the internal barrier count significantly. None of that shows up in a per-attendee ratio.
Getting the quantity right before you submit a purchase order matters for one practical reason: rush top-up orders at peak season rarely arrive in time, and local rental markup on short-notice panels erodes the cost advantage of buying direct. The framework in this guide gives you a defensible number — one you can take into a budget meeting or attach to a bulk order inquiry without having to walk it back after the site survey.
Why Getting the Number Wrong Costs Lives
One undercounted egress path at a 10,000-person festival isn’t a planning error — it’s a liability exposure.
Subject: Why Getting the Number Wrong Costs Lives — FWD to QA team for site review. The barrier count looked fine on paper. Then the main stage let out at 11pm and three exit corridors funneled 4,000 people through gaps that were never measured against egress code. That’s the scenario that ends careers and triggers municipal permit reviews.
The Ottawa Bluesfest Bottleneck: What the Incident Tells Us
Consider a scenario that mirrors what post-event safety reviewers flagged at the 2023 Ottawa Bluesfest: a large outdoor festival where crowd flow at the main exit zone became dangerously compressed during a peak egress moment. The specific failure point wasn’t the total barrier count — it was that barriers had been placed to manage queuing at entry, with no recalculation for how those same panels would constrain exit flow when 6,000+ attendees moved simultaneously. Entry planning and egress planning are not the same calculation.
The lesson isn’t abstract. When barriers define the physical width of a pedestrian corridor, every panel you place or misplace directly sets the maximum throughput of that path. Get the count wrong by 10 panels on a 200-panel deployment and you may have inadvertently narrowed two emergency exits below the minimum functional width.
Fire Code and Egress Path Requirements
Canadian fire codes — specifically the National Building Code provisions adopted by provinces for temporary public assembly — require unobstructed egress paths wide enough to handle the calculated occupant load. For outdoor events, the practical minimum for emergency vehicle access is 3.5 metres clear width. Pedestrian egress corridors for high-density zones typically require a minimum of 1.2 metres per lane of flow, with additional width added for crowd density above 1 person per square metre.
-
- Emergency vehicle access: Minimum 3.5m clear gap — this dictates where barriers cannot be placed, not just where they can.
- Pedestrian egress lanes: Each lane requires at least 1.2m clear width. A standard 2.3m crowd control panel placed incorrectly can consume an entire egress lane.
- Permit compliance: Many Canadian municipalities require a barrier layout drawing as part of the event permit submission. An undocumented count is a permit risk, not just a safety risk.
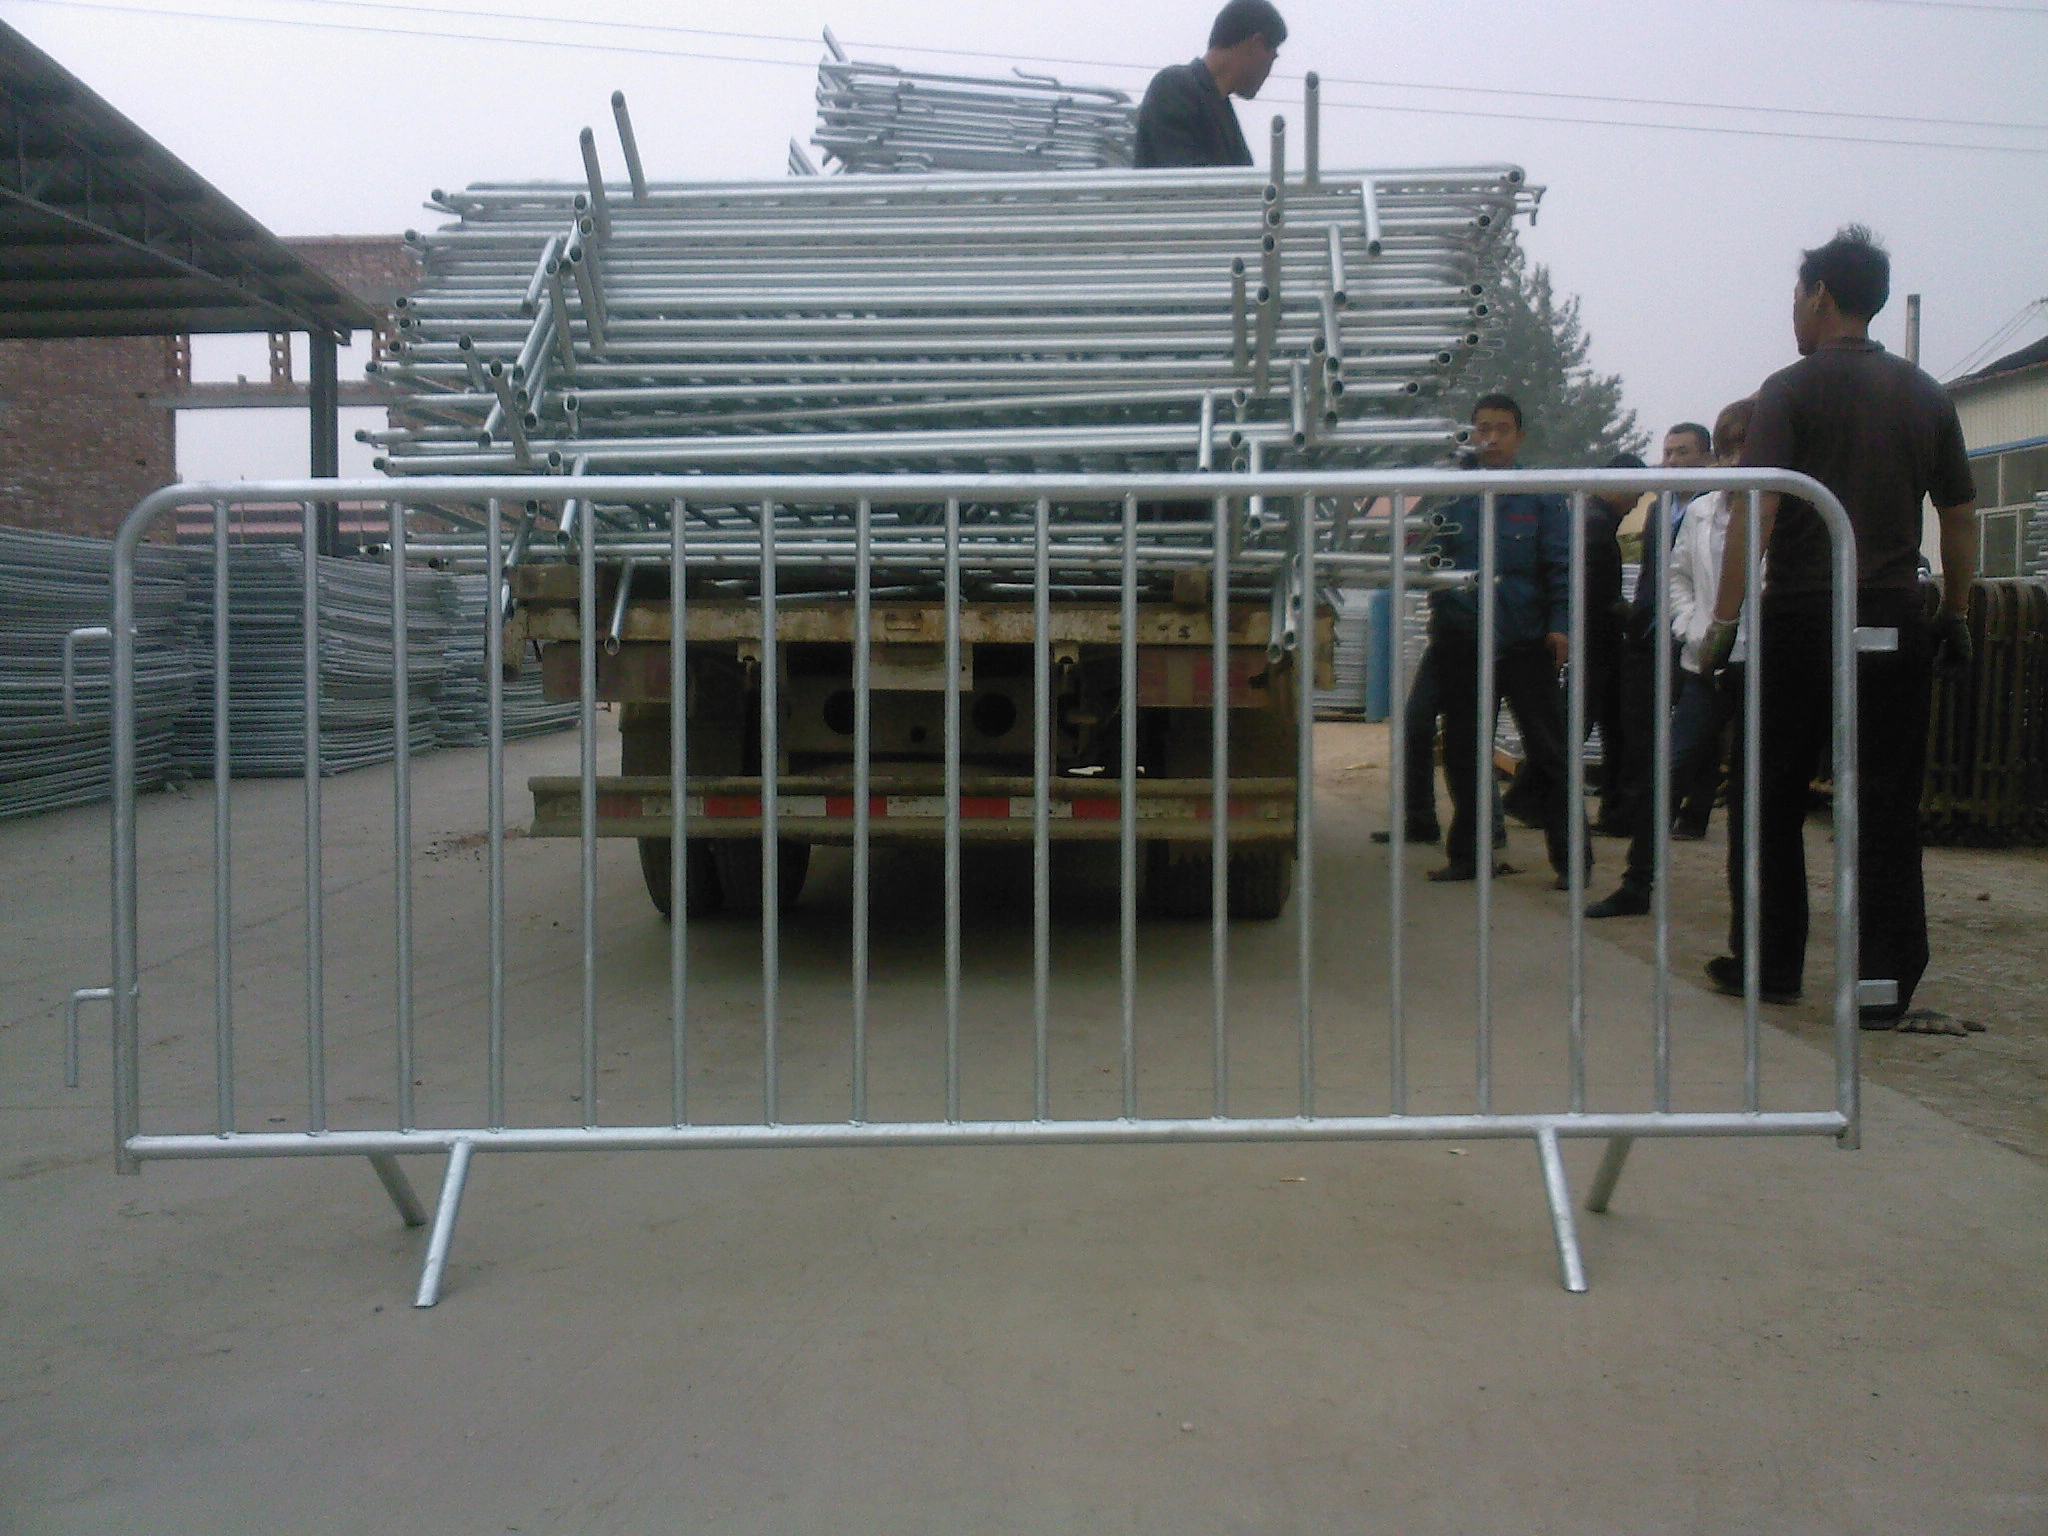
This is where panel-level precision matters. Hot-dipped galvanized crowd control barriers — the type specified for outdoor Canadian events where morning frost and ground moisture are real conditions — have a standard panel length of 2.3 metres. That dimension is the unit of measurement for every egress calculation you run. If your count is based on a generic ‘barriers per attendee’ rule rather than actual linear metres of controlled perimeter, your egress path widths are essentially unverified.
| Risk Factor | What Goes Wrong | Real-World Example | Code / Standard Violated | Consequence for Planner |
|---|---|---|---|---|
| Understaffed Perimeter | Crowd breaches unsecured gaps between barriers | 2023 Ottawa Bluesfest bottleneck — compressed crowd at single exit point | Ontario Fire Code: minimum 2 egress paths per 250 persons | Event shutdown, liability claim, permit revocation |
| Oversized Emergency Gate Gap | Gap wider than 3.5m allows crowd surge into vehicle lane | Emergency vehicle corridor left unguarded during peak ingress | NFPA 101 Life Safety Code: 3.5m minimum clear width for emergency access | Injury liability, insurer voids event coverage |
| Insufficient Stage-Front Barriers | Crowd crush against stage apron with no buffer zone | Stage-front collapses reported at multiple North American outdoor concerts | Event Safety Alliance: 1 barrier per 2m of stage width minimum | Serious injury, criminal negligence investigation |
| Unenclosed Beer Garden | Alcohol zone bleeds into general admission — liquor licence breach | Partial enclosure failures at Canadian provincial fair inspections | Provincial liquor authority: full 4-sided physical enclosure required | Immediate licence suspension, fines up to CAD $25,000 |
| Using Generic ‘1 Barrier per 50 Attendees’ Rule | Formula ignores irregular perimeter shape and terrain anchoring gaps | Vancouver Deer Lake Park rocky terrain creates 15% anchoring gap loss | No code — planning error; correct method: linear metres ÷ 2.3m panel length | Barrier shortfall on event day, emergency rental at 3× cost |
| Under-Ordered Buffer Stock | Damaged or uneven-terrain panels reduce usable inventory below plan | Rush orders placed 48 hours before event at premium local rental rates | Industry best practice: order 10% surplus for damage and terrain adjustment | Budget overrun, crew deployment delays, safety gaps |
Step 1: Define the Controlled Perimeter
Perimeter length — not attendee count — is the only number that drives an accurate barrier order.
Every other sourcing guide tells you to start with your headcount. That advice burns buyers. A procurement coordinator who ordered for a 10,000-person festival based on the ‘1 barrier per 50 attendees’ rule ended up 40 panels short at the main entrance — because the site perimeter was 680 metres, not the 500 metres assumed from the venue brochure. The pre-production sample matched the spec sheet. The site measurement didn’t match reality. The crowd control barrier linear metre perimeter method fixes this.
Measure Total Perimeter Length Using Google Earth
Open Google Earth Pro (free desktop version), drop a placemark at your festival entrance, and use the path tool to trace the full controlled boundary. Click at every corner or curve change. The tool outputs total distance in metres automatically. For a standard crowd control barrier panel at 2.3 metres per unit, divide your total perimeter by 2.3 to get your raw panel count. A 500-metre perimeter requires 218 panels before you account for gates or terrain gaps.
One practical note: Google Earth measurements on flat urban sites are accurate to within 1–2%. On sloped or irregular terrain — think Vancouver’s Deer Lake Park or Ottawa’s Lebreton Flats — the aerial measurement underestimates ground distance. Add 15% to your raw count for rocky or uneven sites to cover anchoring gaps where panels cannot sit flush end-to-end.
Subtract Natural Barriers — But Only the Ones That Actually Hold
Buildings with solid masonry walls, permanent concrete retaining walls, and water features with steep banks can replace barrier panels on the perimeter. Measure each qualifying segment and subtract it from your total. A 30-metre brick wall along the north edge of your site removes 13 panels from the order. But be specific about what qualifies: a chain-link fence already on site does not count unless it is anchored and at least 1.8 metres high.
-
- Qualifying subtractions: Solid masonry or concrete walls ≥1.8m high, permanent water features with vertical drop ≥1.2m, secured loading dock doors flush with the perimeter line.
- Do NOT subtract: Temporary hoarding, parked vehicles, existing chain-link below 1.8m, hedges or soft landscaping — none of these hold under crowd surge pressure.
- Rocky terrain adjustment: For irregular ground like gravel pits or park trails, add 15% to the post-subtraction count to account for anchoring gaps between panels.
- Panel length standard: Use 2.3m per panel as your divisor for the crowd control barrier linear metre perimeter method. Some suppliers ship 2.2m or 2.5m units — confirm the exact length before calculating, as a 0.2m difference across 200 panels creates a 40-metre gap in your line.
Hot-dipped galvanized panels with a coating above 42 microns — the production standard used for export-grade barriers — resist the surface corrosion that causes feet to seize on wet grass overnight. That matters for multi-day festivals where panels get repositioned between days. A seized foot joint on day two costs crew time and creates gaps in the line while the panel is being freed. Confirm the galvanizing spec on your order confirmation, not just the product listing.
Step 2: Apply the Crowd Density Factor
The ‘1 barrier per 50 attendees’ rule is too blunt.
The single biggest calculation error seen across Canadian festival deployments is applying one flat ratio to the entire site. General admission and VIP zones behave like completely different crowd environments — the barrier density required to manage them safely is not interchangeable.
General Admission: 2 Barriers per 100 Attendees
For open general admission zones, the working standard is 2 barriers per 100 attendees. At a 10,000-person festival, that baseline produces 200 panels for GA coverage alone — before you account for perimeter, gates, or internal chokepoints. This ratio assumes relatively fluid crowd movement with standard 2.3m panel widths.
One important adjustment: this ratio applies to the controlled zone area, not total site attendance. If your GA zone holds 7,000 of the 10,000 attendees, calculate against 7,000. Applying the full headcount to a sub-zone inflates your order and distorts the budget submission.
VIP Zones: Double the Density at 4 Barriers per 100 Attendees
VIP enclosures require 4 barriers per 100 attendees — twice the GA rate. The reason is structural, not cosmetic. VIP zones combine tighter physical boundaries, higher dwell time, and access control points that create localized crowd pressure. A 400-person VIP section needs 16 panels just for the density factor, separate from its perimeter count.
-
- GA Zone Formula: Zone headcount ÷ 100 × 2 = barrier count for internal crowd management.
- VIP Zone Formula: Zone headcount ÷ 100 × 4 = barrier count; add full perimeter panels on top.
- Mixed-Use Site Risk: Applying GA ratios to a VIP enclosure is the most common under-order scenario — it leaves access points uncontrolled when dwell pressure peaks.
For sites with rocky or uneven ground — common at outdoor venues like Vancouver’s Deer Lake Park — add 15% to your zone totals to account for anchoring gaps where standard feet cannot sit flush. Hot-dipped galvanized panels rated above 42 microns handle outdoor exposure without surface degradation, which matters when panels sit on wet grass or gravel for multi-day events.
Step 3: Add Entry, Exit, and Emergency Gates
Gate layout is where most festival barrier plans break down — and where safety inspectors look first.
Perimeter barriers hold the crowd in. Gate barriers manage how people move through it. Those are two different engineering problems, and conflating them is how a well-planned event ends up with a 40-person bottleneck at a 2-metre entry point during a weather evacuation.
Queuing Lane Allocation: 2 to 4 Barriers Per Gate
Each staffed entry or exit gate needs dedicated queuing lanes formed by barriers running perpendicular to the gate opening. The standard range is 2 barriers per gate for low-volume side exits, scaling to 4 barriers per gate for primary entry points handling ticket scanning, bag checks, or wristband verification. A 10,000-person festival with 4 main gates typically requires 12 to 16 barriers allocated to gate queuing alone — a line item that gets dropped from budgets until the first event, then never again.
The queuing lane length matters as much as the count. At peak ingress — typically the 45 minutes before headline acts — a single entry gate processes roughly 400 to 600 people per hour under normal conditions. Two parallel queuing lanes, each formed by a run of 3 to 4 barriers, keeps that flow organised without creating lateral crush pressure against the barrier line.
Emergency Vehicle Access: The 3.5m Minimum You Cannot Negotiate
Canadian fire codes and event permit conditions consistently require a minimum 3.5-metre clear gap for emergency vehicle access. That is not a guideline — it is the threshold below which ambulance and fire apparatus cannot pass. On a standard barrier layout using 2.3-metre panels, a 3.5-metre gap requires removing two full panels and repositioning the adjacent barrier feet to avoid obstruction. Plan these gaps at the design stage, not on site the morning of the event.
Emergency access points should not double as general entry gates. Mark them on your site plan, brief your crew on their location, and confirm the gap width is physically clear at the pre-event walk-through. Hot-dipped galvanized barriers — the type rated for repeated repositioning without joint failure — are the right choice here precisely because emergency gaps get opened and closed multiple times across a multi-day event. Panels with corroded or seized clamp points create delays when seconds count.
Gate Barrier Checklist Before Finalising Your Order
-
- Gate count confirmed: Has your site plan identified every entry, exit, and emergency access point? Each one requires a separate barrier allocation.
- 3.5m gap verified: Can your emergency vehicle access points physically accommodate a 3.5-metre clear opening after barrier feet are positioned?
- Panel reposition tolerance: Are the barriers specified for gate zones hot-dipped galvanized with clamp joints that can be opened and reset without tools? Panels with seized fittings are a liability at emergency access points.
Step 4: Account for Chokepoints and Barriers Inside
Interior barriers are where under-ordered deployments collapse — two zones alone can add 60+ panels.
Perimeter math gets most of the attention, but the panels you forget to count are almost always inside the site. Stage fronts and beer gardens are the two biggest offenders. Miss them in your purchase order and you’re scrambling for rental stock at peak-season markup — exactly the scenario that erodes your cost-per-event margin.
Stage Front: The 1-Per-2-Metre Rule
The working standard for stage front barrier layout calculation is one panel for every 2 metres of stage width. A 30-metre main stage needs 15 panels minimum along the front line. That number doesn’t include the return legs — the short runs that angle back toward the stage wings to create a contained pit. Add 4–6 panels per side for those returns, and a 30-metre stage realistically requires 23–27 panels total.
Why 1 per 2 metres? Standard crowd control barriers are 2.2–2.3 metres wide. Placing them at a 1:2 ratio against stage width creates a slight overlap at each coupling point, which is where lateral crowd pressure concentrates. A gap at the coupling is how barriers get pushed apart. The overlap eliminates that failure point without doubling your panel count.
Beer Garden: Four-Side Enclosure Formula
A beer garden is a full enclosure — all four sides must be counted. The beer garden fence barrier enclosure formula is straightforward: add all four side lengths, then divide by your panel width (2.3 metres for most hot-dipped galvanized panels). A 20m × 15m beer garden has a perimeter of 70 metres, which requires 31 panels before accounting for a service entry gate.
-
- Service gate deduction: Subtract 2 panels from your enclosure count for a single service entry, then add 2 gate-wing panels to manage the queuing lane — net effect is zero, but the placement changes.
- Corner bracing: Each interior corner of a beer garden enclosure needs a brace foot or cross-clamp. On rough or uneven ground, plan one brace per corner minimum — four per enclosure.
- Panel spec for enclosed zones: Hot-dipped galvanized panels with a coating above 42 microns hold up through multi-day outdoor events without surface rust bleeding onto adjacent surfaces or flooring — relevant for licensed venues where appearance matters.
Run both calculations before finalising your bulk order. For a mid-size festival with a 30-metre stage and a 20m × 15m beer garden, interior zones alone account for roughly 55–60 panels — nearly a third of what many planners budget for the entire perimeter. Getting this number right at the purchase order stage is what separates a clean deployment from a last-minute shortage call.

Example Calculation: 10,000-person Festival
195 barriers total — here is exactly how that number breaks down for a 10,000-person festival.
Most procurement coordinators submitting a bulk order for hot-dipped galvanized crowd barriers need one thing from their quantity estimate: a number they can defend in a budget meeting. The calculation below uses the crowd control barrier linear metre perimeter method — not the generic ‘one barrier per 50 attendees’ rule that falls apart the moment your site has an irregular boundary.
Perimeter: 500m ÷ 3m Panel Width = 167 Barriers
Start with the outer controlled perimeter. For this example, the festival footprint measures 500 linear metres after subtracting a building wall and a water feature that act as natural barriers. Each crowd control barrier panel spans 2.3m to 3m depending on the spec. Using the 3m panel width standard, 500 ÷ 3 = 167 barriers for the outer ring alone.
Gates: 4 Entry Points × 3 Barriers Each = 12 Barriers
Each entry or exit gate requires a queuing lane on both sides plus one barrier to anchor the opening. Four gates at 3 barriers each adds 12 panels to the count. Emergency vehicle access gates need a minimum 3.5m clear gap — factor that into your perimeter subtraction, not your gate count, or you will double-count the opening width.
VIP Zone: 400 Attendees at 4 Barriers per 100 = 16 Barriers
VIP enclosures run at double the density of general admission. At 4 barriers per 100 attendees, a 400-person VIP zone requires 16 panels. This higher ratio accounts for the tighter perimeter geometry of a dedicated zone — small rectangles have proportionally more linear boundary per person than a large open field.
Final Count: 167 + 12 + 16 = 195 Barriers
-
- Outer perimeter: 500m ÷ 3m per panel = 167 barriers.
- Entry and exit gates: 4 gates × 3 barriers per gate = 12 barriers.
- VIP enclosure: 400 attendees × 4 per 100 = 16 barriers.
- Confirmed total: 195 barriers before terrain adjustment.
195 is your baseline. For uneven ground — gravel paths, slight inclines, or irregular grass edges common at Canadian outdoor venues — add a 10% buffer, bringing the order to 215 panels. That buffer covers panels pulled for damage inspection mid-event and gaps caused by anchoring on non-flat surfaces. When placing a bulk order for hot-dipped galvanized crowd barriers, ordering to 215 costs less per unit than a rush top-up order placed 72 hours before gates open.
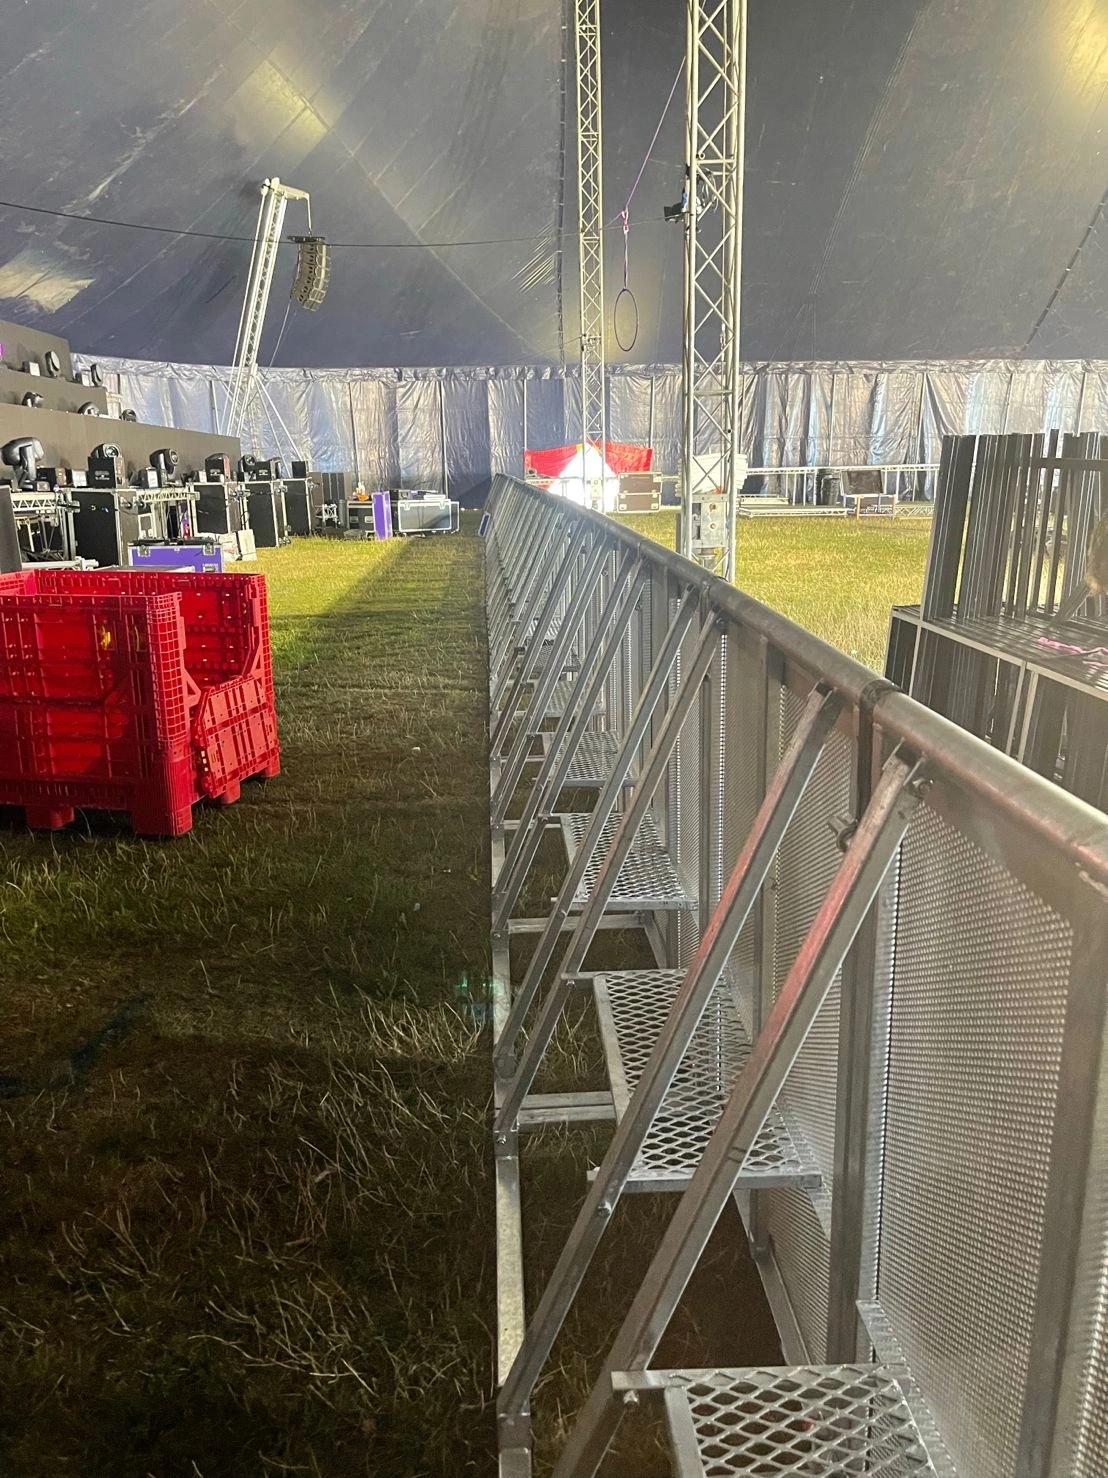
Tools and Templates
Order exactly what you calculated and you will run short.
Every quantity estimate in this article can be built into a single spreadsheet. The DB Fencing panel calculator uses three input cells — total perimeter in metres, panel length (2.3m standard), and zone type (general admission, VIP, or stage front) — and outputs a panel count with a buffer recommendation already factored in. That output is what you submit to your purchasing manager as a defensible number, not a guess.
The Spreadsheet Formula Behind the Calculator
The core formula is straightforward: divide total linear metres by 2.3 to get your base panel count. Add zone-specific quantities on top — stage front, VIP enclosures, gate queuing lanes — then apply your terrain multiplier. For flat, paved sites, no adjustment needed. For uneven ground or rocky terrain like Vancouver’s Deer Lake Park, multiply the base count by 1.15 before adding zone panels. That 15% accounts for anchoring gaps where feet cannot sit flush.
Why 10% Extra Is Not Optional
Panels get damaged in transit, bent during setup, or pulled out of line by crowd pressure at pinch points. On a 200-panel order, arriving with 180 usable panels because 20 took impact damage during unloading is a real operational failure. The 10% buffer covers three scenarios that hit every multi-day festival at some point.
-
- Transit damage: Even hot-dipped galvanized panels rated to AS 4687-2022 can sustain frame bends if stacked incorrectly in a container. Budget 3-5% for this alone on sea freight orders.
- Terrain gaps: Sloped or uneven ground creates anchoring gaps between feet and surface. Each gap effectively removes that panel from your controlled line. On irregular sites, these gaps can consume 5-8% of your planned count.
- On-site reconfiguration: Event layouts change between permit approval and day-of setup. A last-minute stage extension or added sponsor activation zone will pull panels from your calculated total. Having 10% in reserve means you adapt without an emergency reorder.
For bulk orders placed 8-12 weeks ahead of peak season — which is the standard lead time for hot-dipped galvanized crowd barriers shipped from Anping — adding 10% to your order costs less per unit than sourcing emergency panels locally at rental markup. The math is straightforward: a factory-direct order at volume pricing with 10% buffer will consistently land below the per-panel cost of a last-minute local top-up, even after freight.
Conclusion
The four-step method covered here — perimeter measurement, crowd density ratio, gate allocation, and interior chokepoint mapping — gives procurement coordinators a defensible quantity figure before a single purchase order is signed. Skipping any one layer doesn’t just risk a short count; it creates the kind of bottleneck that draws fire marshal attention mid-event. Pair the calculation with a 10% buffer for uneven terrain or panel damage, and the number you bring to management will hold up under scrutiny.
-
- Use the linear perimeter method — total metres divided by 2.3m panel length — not the generic one-per-50-attendees rule.
- VIP zones require double the barrier density of general admission: 4 panels per 100 attendees versus 2.
- Emergency vehicle access gaps must stay at a minimum 3.5m clear width — this is a fire code floor, not a guideline.
- On rocky or irregular terrain like Vancouver’s Deer Lake Park, add 15% to your panel count to cover anchoring gaps.
Once your quantity estimate is locked, the next practical step is confirming that the panels you source meet the load and finish specifications your site demands. Hot-dipped galvanized barriers rated above 42 microns hold up through multi-day outdoor events without surface degradation — a detail that matters when you’re tracking panel lifecycle across a full season. Review the crowd control barrier options at the product page to compare panel dimensions, foot type, and bulk order terms before finalising your procurement plan.
Frequently Asked Questions
How many barriers does a 10,000-person festival need?
A 10,000-person festival typically requires around 195 crowd control barriers when you combine perimeter coverage, gate queuing lanes, VIP zones, and stage front. That. Run your own site perimeter measurement first — attendee count alone will not produce a reliable order quantity.
What is the standard barrier ratio for general admission crowds?
The working industry ratio for general admission is 2 crowd control barriers per 100 attendees for open-field zones, rising to 4 per 100 for. Use both the perimeter measurement and the density ratio together — neither figure is reliable on its own.
How wide must emergency vehicle access gaps be?
Emergency vehicle access gaps must be a minimum of 3.5 metres wide, which typically means leaving a full panel gap plus additional clearance depending on. Confirm the exact gap requirement with your local fire or safety authority before finalizing the barrier layout.
Why order 10% extra barriers for a festival?
A 10% buffer covers panels damaged during transport or setup and compensates for uneven terrain that consumes extra units at corners, slopes, and. Factor the 10% buffer into your initial purchase order rather than relying on local rental top-ups at event-week pricing.
What is the minimum order quantity for festival barriers from a factory?
Factory-direct crowd control barrier orders from DB Fencing start at a low MOQ of 100 panels, which is practical for mid-sized festival deployments without requiring. Request a 24-hour factory quote with your panel count and spec before comparing against local rental rates.