 Skip to content
Installing temporary fencing at the wrong time costs money and creates liability risks, but most guides only tell you how to install without answering when. This strategic scheduling guide shows construction project managers exactly when to install, modify, and remove temporary fencing throughout your project lifecycle. You’ll learn to align fencing with key milestones, navigate the new AS 4687:2022 compliance requirements, and use proven project management tools to transform temporary fencing from a logistical headache into a seamless part of your critical path.
- Timing is Everything: Installing a temporary fence too early causes damage and rework; installing it too late creates safety, security, and compliance risks.
- Map to Milestones: Align fence installation, modification, and removal with specific project phases like site clearing, foundation work, and landscaping.
- Plan for Variables: Account for ground conditions, site complexity, and weather in your schedule to prevent unexpected delays.
- New Compliance Adds Time: The updated Australian Standard AS 4687:2022 requires scheduling time for risk assessment and wind load analysis before installation.
- Use Project Management Tools: Integrate fencing tasks into your Gantt chart and identify them as part of the project’s critical path to prioritize resources effectively.
Every hour on a construction site gets measured in dollars and risk. Install a fence too early and it blocks access while getting damaged. Install it too late and you’re looking at safety violations, security breaches, and compliance headaches that trigger costly delays and potential lawsuits. While other guides explain how to install a fence, they completely miss the critical project management question: when?
This goes way beyond an installation manual – it’s your strategic blueprint for weaving temporary fencing into your project’s master schedule. We’ll walk you through proven scheduling tactics, from foundational planning to advanced optimization. You’ll walk away knowing exactly how to sync fence installation with key project milestones, handle new compliance standards, and turn temporary fencing from a logistical nightmare into a smooth part of your project’s critical path.
The Foundation: Pre-Scheduling Analysis and Key Decisions
The upfront choices you make about financing, fence type, and site conditions drive your entire scheduling approach and determine how long the job takes and what resources you’ll need.
Before you can add “Install Fence” to a Gantt chart, you need to lay the groundwork. The decisions you make here about financing, fence type, and site conditions directly shape how long the job takes and what resources you’ll need. Getting these details right from the start prevents expensive do-overs down the road.
How do you choose between renting and purchasing for your project timeline?
Your project duration and frequency drive this financial decision. For short-term projects under 10 months, rental typically delivers the best return by cutting upfront capital and eliminating storage and maintenance headaches. For companies with steady project pipelines, purchasing becomes more economical over time as you spread that initial investment across multiple jobs.
| Factor | Renting | Purchasing |
|---|---|---|
| Initial Cost | Low upfront cost, paid per project. Perfect for preserving capital. | High initial investment. Pays off over multiple projects. |
| Maintenance & Storage | Rental company handles it. No storage or repair overhead for you. | Your responsibility. You need storage space and repair budget. |
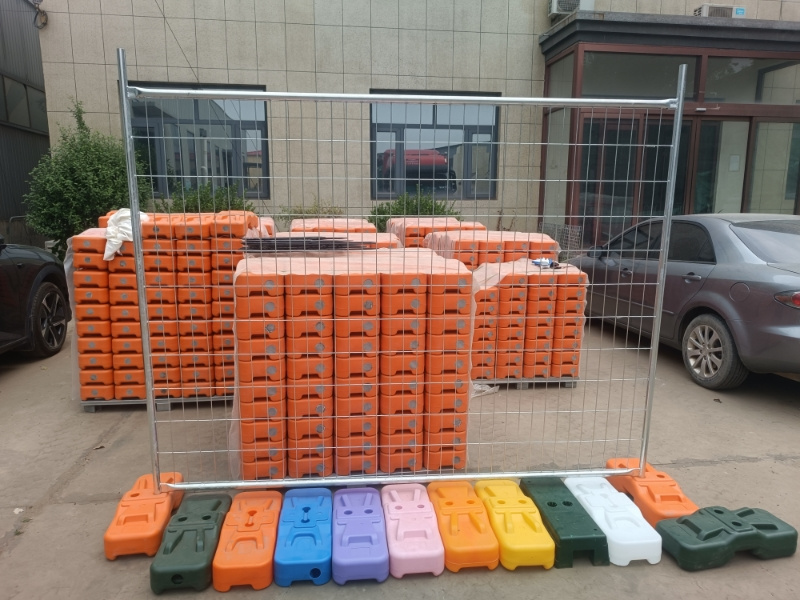
| Customization | Limited to supplier inventory. Fewer options for specific branding or needs. | Fully customizable. Order specific sizes, colors, and branding. |
| Long-Term ROI | ROI based on project-specific efficiency. Best for single or occasional jobs. | High long-term ROI for businesses with steady project streams. |
| When to Choose | Projects lasting less than 10 months or companies with occasional needs. | Companies managing multiple, continuous, or long-term projects (10+ months). |
Which temporary fence type aligns with your security and installation speed needs?
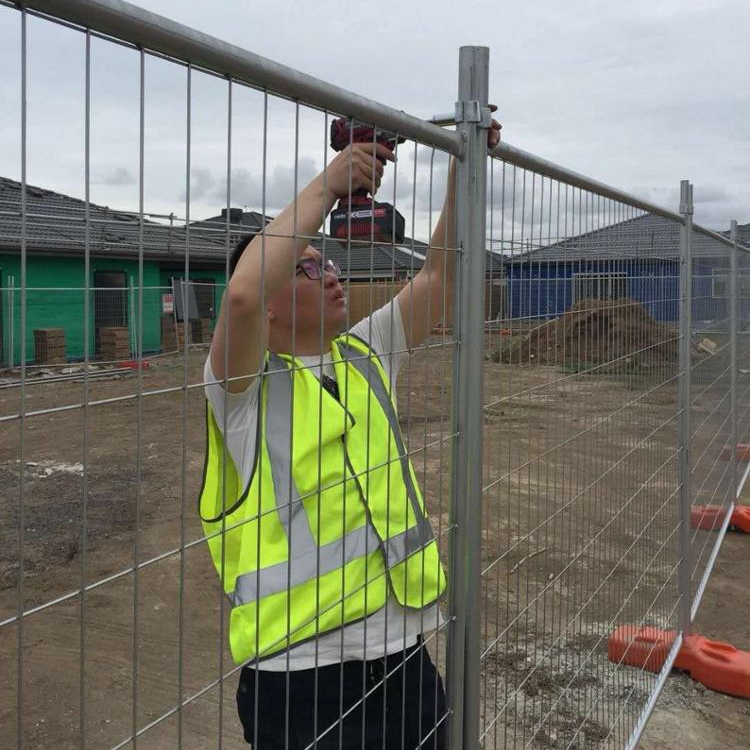
Your fence choice directly impacts installation time and labor requirements. Lightweight plastic mesh goes up fast for short-term crowd control, while heavy-duty steel panels provide serious security but need more planning and resources to install. As a leading manufacturer, we’ve seen how matching the product to the job becomes the first step in an efficient schedule.
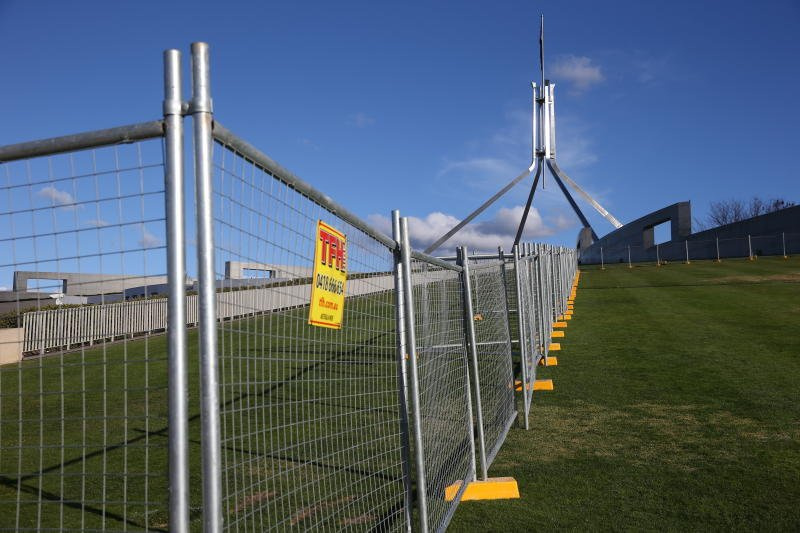
- Welded Mesh Panels: The industry standard for construction sites. These panels, like our Australian-standard compliant temporary fences, balance security, visibility, and installation speed. They’re modular and easy to deploy with a small crew.
- Chain-Link Panels: Highly durable and adaptable for uneven terrain. Often used for longer-term projects where the fence line might not be perfectly straight.
- Solid Hoarding Panels: Best for urban sites needing dust control, noise reduction, and enhanced privacy. Their solid surface requires more extensive wind bracing, which adds installation time.
- Crowd Control Barriers: Lightweight and rapidly deployable for pedestrian management at events. They won’t secure a construction site perimeter.
What key factors will influence your fence installation timeline?
A realistic schedule accounts for ground-level variables. A thorough site assessment isn’t optional – it prevents unexpected delays that can derail your entire project schedule. Multiple industry sources confirm these factors affect timelines from Toronto to Sydney.
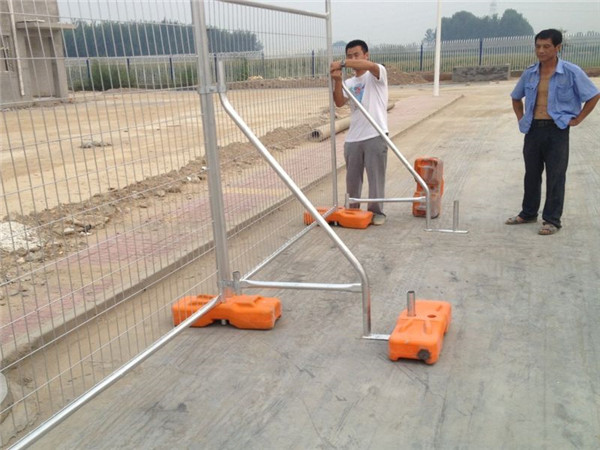
- Ground Conditions: Soft soil, hard asphalt, or rocky, sloped terrain require different anchoring methods and prep time. Drilling into concrete takes way longer than placing weighted feet on flat surfaces.
- Site Perimeter & Complexity: A long, straight perimeter installs faster than one with many corners, gates, and obstacles like trees or utility poles. Each corner or gate adds process steps.
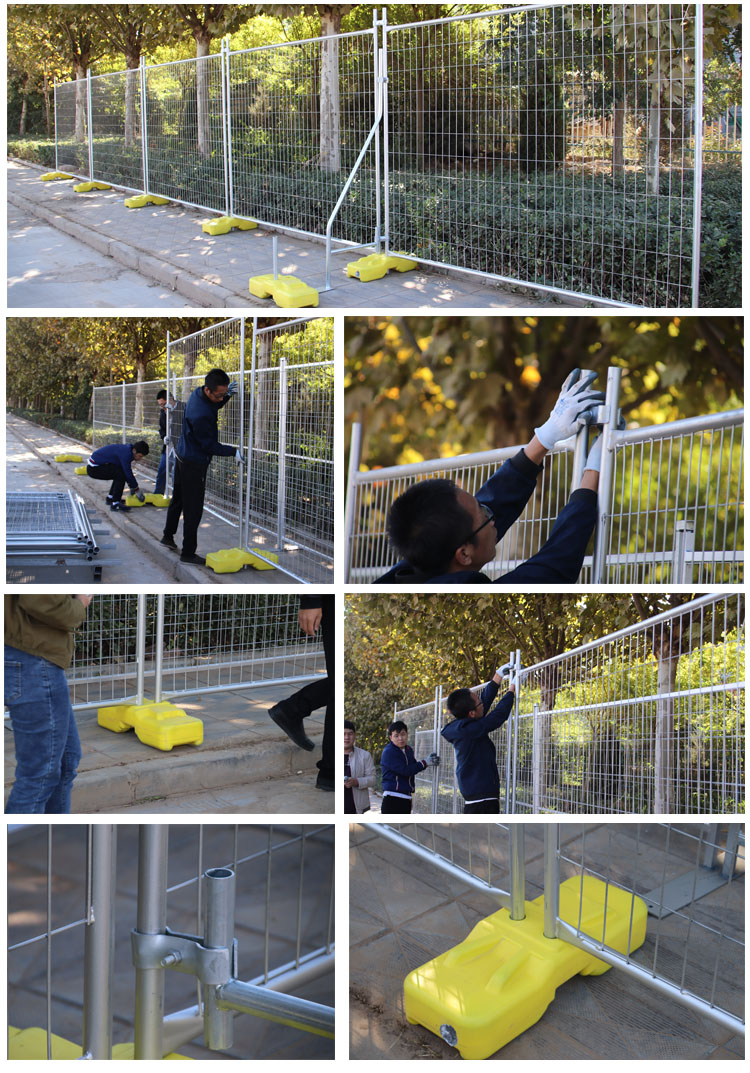
- Labor & Equipment Availability: Confirming your crew and necessary tools (panel lifters, drills, clamp tighteners) are available becomes critical. A two-person crew is standard, but complex sites may need more hands.
- Weather Conditions: Rain, high winds, or snow can halt installation. Always build contingency days into your schedule for potential weather delays, especially during seasons known for extreme weather.
Durable Temporary Fencing Delivered Across Australia & NZ
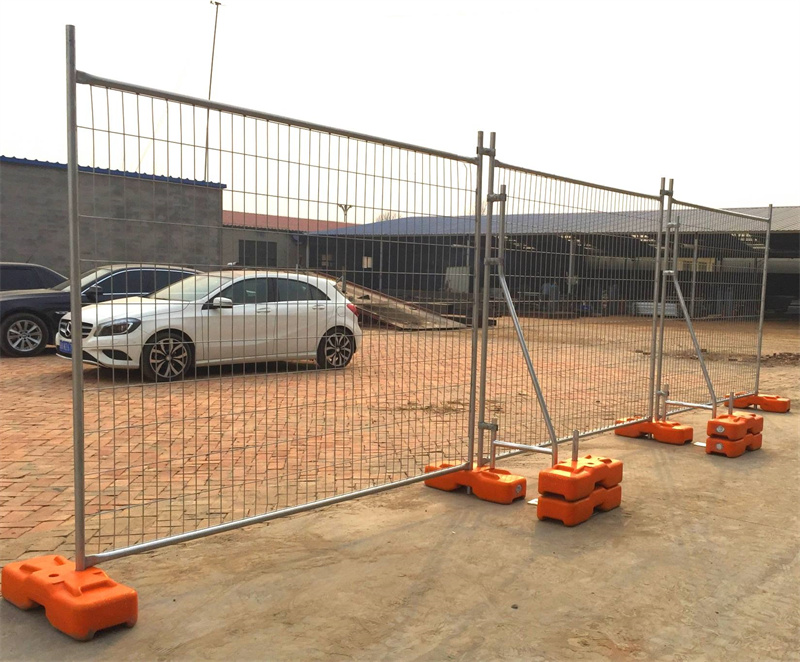
DB Fencing offers high-quality, hot-dip galvanized temporary fences built from premium steel and secure mesh. Designed for easy setup and long-lasting protection, our fencing solutions suit construction sites, events, farms, and more with flexible sizes and sturdy components.
The Master Plan: Mapping Temporary Fence Installation to Your Project’s Milestones
Your temporary fence isn’t a standalone task – it’s a critical dependency that connects to every major phase of your project, from initial site clearing through final landscaping.
This is the heart of strategic scheduling. Timing your fence installation correctly minimizes disruption, maximizes safety, and keeps your project moving. Think of your fence not as a static object but as a dynamic tool that adapts to your job site’s lifecycle. Each construction phase presents unique security and safety needs.
Phase 1: Pre-Construction & Site Clearing
This is your initial setup. Schedule the main perimeter fence installation immediately after the site survey is complete and before any major machinery arrives. This initial action secures the site from day one, protects valuable survey markers, and establishes a controlled entry point for all personnel and deliveries.
Phase 2: Excavation and Foundation Work
During this phase, safety requirements intensify. You may need to schedule adjustments to the perimeter or add specific barricades around deep excavations, trenches, or material stockpiles. Temporary fencing must comply with all safety regulations, such as maintaining safe distances from excavation edges, making timely adjustments a scheduled task.
Phase 3: Vertical Construction and Superstructure
As the building goes up, your fencing needs change. Schedule the installation of any internal fencing to create secure material laydown areas or cordon off specific work zones for different trades. Gate positions should be re-evaluated and possibly moved to accommodate large deliveries of structural steel or modular components.
Phase 4: Landscaping and Final Site Work
As the project nears completion, don’t just “take the fence down.” Instead, schedule the systematic removal or relocation of temporary fencing. This often happens in stages to allow for landscaping, paving, and final utility connections while maintaining security around the nearly finished structure until handover.
The Toolkit: Modern Scheduling Techniques for Fence Installation
Using proven project management techniques for your temporary fencing schedule provides clarity, tracks progress, and allows for dynamic adjustments when things change.
Project managers rely on specific tools to manage complexity and communicate plans. Temporary fencing, with its dependencies and critical safety role, benefits immensely from formal inclusion in these project management systems. It moves the task from a simple to-do item to a managed part of the project workflow.
How can you use a Gantt chart to schedule your fence timeline?
A Gantt chart perfectly visualizes your fencing schedule. Instead of a single line item, create a series of linked tasks: “Site Assessment,” “Material Procurement & Delivery,” “Fence Installation,” “Scheduled Maintenance Checks,” and “Fence Removal.” Then link these tasks with dependencies – for example, “Fence Installation” cannot start until “Site Clearing” is complete.
What is the Critical Path for temporary fencing?
The critical path identifies the sequence of tasks that determines your project’s total duration, where any delay in one task directly delays the entire project. Your initial perimeter fence installation almost always sits on the critical path. No major site work can begin until the site is secure and compliant. Identifying this helps you allocate necessary resources to prevent a day-one delay that cascades through the entire project.
The Special Exhibit: Scheduling for the New AS 4687:2022 Australian Standard
The recent AS 4687:2022 update represents one of the most significant regulatory shifts the industry has seen, introducing process requirements that must be scheduled into your pre-construction phase.
Compliance isn’t static. This comprehensive update has major implications for how you schedule and specify temporary fencing. At DB Fencing, our engineering team has been manufacturing to this standard and preparing our clients for this shift. Here are the core insights you need to build a compliant schedule.
What are the key changes in AS 4687:2022 you must account for?
This standard goes far beyond product design – it introduces process requirements that must be scheduled into your pre-construction phase. It places greater responsibility on project managers to ensure imported products are certified to these new, stricter requirements.
- Expanded Scope: The standard now formally covers temporary pedestrian barriers and temporary swimming pool fencing. Your schedule must include time for compliance checks for these items if they’re part of your project.
- Risk-Based Categories: Fencing systems are now classified into three levels. You must schedule time upfront for a risk assessment to determine the required stability and importance classification for each site application.
- Mandatory Wind Load Assessment: The new standard demands detailed assessment of wind loads, especially for fences with shade cloth or signage. This requires dedicating time in your pre-construction phase for engineering analysis, which influences your choice of bracing and anchoring.
- Enhanced Safety Testing: Overturning tests are now required from both sides of the barrier. When selecting a supplier, schedule time to verify their products are certified to this new, more rigorous testing protocol.
How does this new standard impact your project timeline?
You must now budget time in your pre-construction schedule for more detailed analysis and verification. This is the new reality of compliance. Failing to schedule these steps can lead to ordering the wrong system, causing significant delays and costs.
- Design & Selection Phase: Allocate extra time to work with suppliers like DB Fencing to ensure the chosen fence system and its configuration meet the required risk level and wind load calculations for your specific site. This is no longer just picking a panel from a catalog.
- Installation Phase: The specific bracing and anchoring required by the wind load assessment may take longer to install than standard configurations. Account for this additional labor in your installation schedule.
- Inspection Phase: Your regular site safety inspections must now verify that the installed system continues to meet AS 4687:2022 design specifics, for example, making sure all specified stays and braces remain in place and properly secured.
Durable Temporary Fencing Delivered Across Australia & NZ
DB Fencing offers high-quality, hot-dip galvanized temporary fences built from premium steel and secure mesh. Designed for easy setup and long-lasting protection, our fencing solutions suit construction sites, events, farms, and more with flexible sizes and sturdy components.
The Grand Finale: Schedule Optimization & Risk Management
A great schedule isn’t just a plan written in stone – it’s a dynamic tool that anticipates change, builds in resilience, and manages risk proactively from day one.
A schedule carved in stone is a schedule doomed to fail. A strong plan anticipates change and builds in resilience from the start. This final section provides advanced strategies to make your fencing timeline both efficient and adaptable to the realities of a live construction environment.
How do you build a resilient schedule with risk mitigation?
Every experienced project manager knows plans change. A strong schedule accounts for this by identifying potential risks upfront and developing proactive strategies to manage them. Don’t wait for problems to happen – plan for them.
| Potential Risk | Impact on Timeline | Proactive Mitigation Strategy |
|---|---|---|
| Extreme Weather Event | Halts installation, can damage installed fences. | Build 10-15% contingency time into the schedule. For windy or wet seasons, increase this to 20-25%. |
| Labor Shortage | Installation falls behind schedule. | Confirm crew availability well in advance. Cross-train other site staff on basic fence maintenance. |
| Delivery Delay | A critical path delay; site work cannot begin. | Confirm supplier lead times and delivery dates when placing the order. Choose reliable manufacturers known for timely delivery. |
| Vandalism/Theft | Requires replacement and re-installation. | Install anti-tamper clamps and position the fence line in well-lit areas where possible. |
How can you coordinate with other trades to optimize the schedule?
Temporary fencing impacts everyone on site. Clear communication prevents bottlenecks and rework. Use your daily or weekly all-hands project meetings to discuss the fencing schedule. Coordinate with electricians for temporary lighting on the fence line, with plumbers for access to utilities near the perimeter, and with finishing trades for the phased removal plan. This integration makes the fence a shared asset, not a shared problem.
We’ve journeyed from the foundational decisions of what fence to use, to mapping its installation against your project’s heartbeat, and finally to mastering advanced compliance and optimization. You now possess the blueprint to treat temporary fencing not as an afterthought, but as a strategic component of a well-executed project. By scheduling with precision, you enhance safety, ensure compliance, and protect your timeline and budget from start to finish.
Ready to put this strategy into action? For expert consultation on selecting a fence system that meets the latest standards for any climate or region, our team at DB Fencing is here to help.
FAQ (The Curator’s Q&A)
How long does it typically take to install 100 meters of temporary fence?
For standard welded mesh panels on level ground, a two-person crew can typically install 100 meters in 2-4 hours. This time can easily double if the terrain is difficult, requires pre-drilling for anchors, or if extensive wind bracing is needed to comply with standards like AS 4687:2022.
Do I need a permit for temporary construction fencing?
In most jurisdictions, yes. Commercial construction sites and any fencing that encroaches on public space (like a sidewalk or roadway) almost always require a permit. Always check with your local municipal authority early in the planning process to avoid delays.
What are the most common mistakes in scheduling temp fence installation?
The two most common mistakes are 1) Installing it too early, causing it to be damaged by site clearing and moved multiple times, and 2) Not scheduling regular inspections, leading to stability issues over time as braces are moved or bases shift. A “set it and forget it” approach is a recipe for failure.
How does the new Australian Standard AS 4687:2022 affect fencing imported from China?
It places greater responsibility on the importer and project manager to ensure the imported product has been tested and certified to meet the new, stricter requirements. You should request detailed compliance certificates and test reports from your supplier that specifically address wind loading and two-sided overturning resistance. Reputable manufacturers like DB Fencing provide this documentation.
How much contingency time should I add to my schedule for fence installation?
A good rule of thumb is to add a 10-15% time buffer to your installation estimate. For projects taking place during notoriously windy or wet seasons, or in particularly difficult locations, increasing this buffer to 20-25% is a wise risk management strategy.


